Tuesday, June 29, 2010
I have had my eye on this enticing Baked Doughnuts recipe from 101 cookbooks for months. I have daydreamed in class about simple glazed doughnuts and different jam-filled varieties. And yet, I'm practically half way in to my summer and haven't found the time to tackle a yeast recipe. Or perhaps it's a little bit of moxie that I can't seem to locate. However, I did promise myself that I would get to it sometime before school starts and I have no intention of letting myself down.
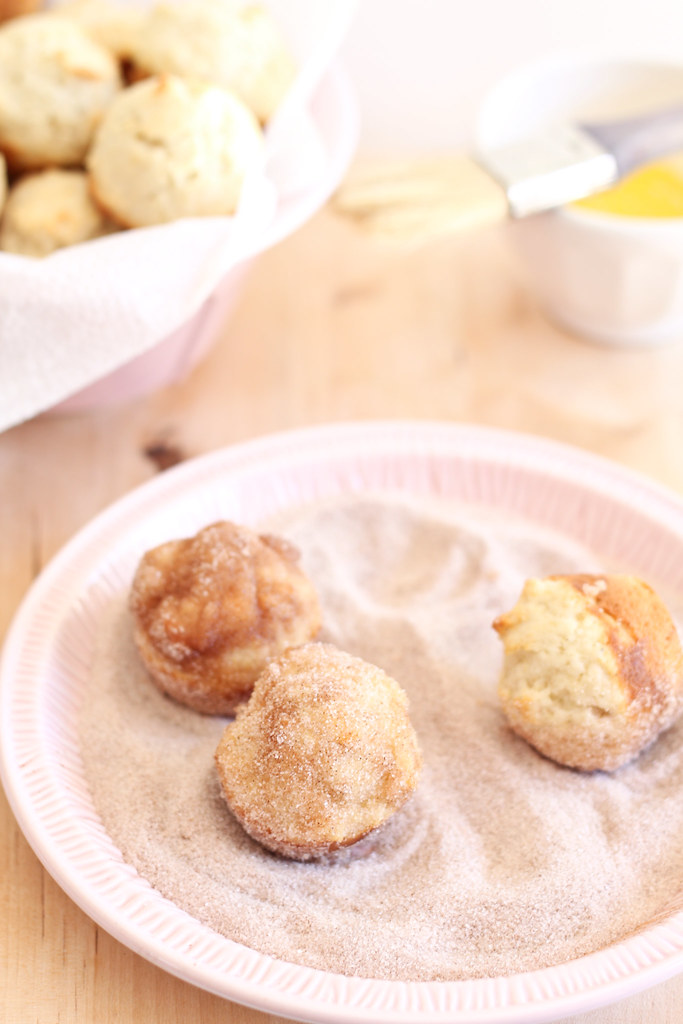
Until then, I had to satiate my doughnut craving with this quick fix solution: doughnut muffins. The recipe is from The Downtown Bakery and Creamery north of the Bay Area in Healdsburg. They claim to sell out of these muffins every morning and I can already see why. The original recipe, which I posted here, yields 24 standard sized muffins. Predictably, I quartered the recipe and made 24 mini-muffins, but each little, melt-in-your-mouth bite is delectable. I'll shamefully admit that I've already eaten somewhere over 6 mini-muffins which is a little under 2 standard muffins...in under an hour. I've since forced myself to clean the kitchen completely and grab myself a glass of water so that I won't have a reason to go into the kitchen for a good couple of hours. I won't lie...doughnut muffins are not the new doughnut. But don't let that stop you from trying them.
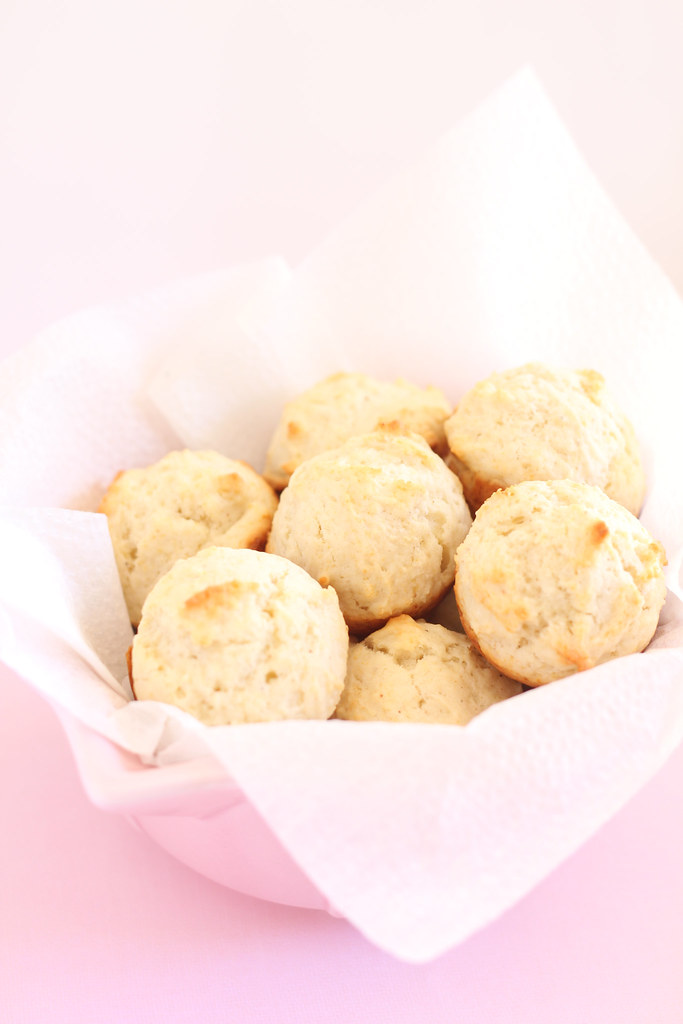
Doughnut Muffins (recipe found here)
makes 24 medium muffins
12 oz. (24 Tbs.) unsalted butter, warmed to room temperature
1-3/4 cups sugar
4 large eggs
1 lb. 11 oz. (6 cups) all-purpose flour
1 Tbs. plus 2 tsp. baking powder
1/2 tsp. baking soda
1-3/4 tsp. salt
1 tsp. ground nutmeg
1-2/3 cups milk
1/4 cup buttermilk
8 oz. (16 Tbs.) unsalted butter; more as needed
2 cups sugar
2 Tbs. ground cinnamon
Put a rack in the middle of the oven and heat the oven to 350°F.
In a stand mixer or a large bowl, cream the butter and sugar. Beat in the eggs, one at a time, until just mixed in. Sift together the flour, baking powder, baking soda, salt, and nutmeg.
Combine the milk and buttermilk. With a wooden spoon, mix a quarter of the dry ingredients into the butter mixture. Then mix in a third of the milk mixture. Continue mixing in the remaining dry and wet ingredients alternately, ending with the dry. Mix until well combined and smooth, but don't overmix.
Grease and flour a standard-size muffin tin. Scoop enough batter into each tin so that the top of the batter is even with the rim of the cup, about 1/2 cup. (A #16 ice-cream scoop gives you the perfect amount.) Bake the muffins until firm to the touch, 30 to 35 min.
Melt the butter for the dipping mixture. Combine the sugar and cinnamon. When the muffins are just cool enough to handle, remove them from the tin, dip them into or brush them all over with the melted butter, and then roll them in the cinnamon sugar.
Tuesday, June 22, 2010
It's so difficult to brainstorm products and prices for people that you know. Not only did I have to come up with something that appeals to their tastes and that they would actually buy (which entails that they either cannot make it themselves or conveniently buy it elsewhere). I remembered often hearing the women mention red velvet cakes before. It seemed perfect, it wasn't a cultural staple, so it wasn't something that most of the women would make on their own. It was also not too simple, as many of the women were already well-seasoned in making their own quick breads, so banana bread for sale was out of the question. Red velvet was the perfect option the more I thought about it.
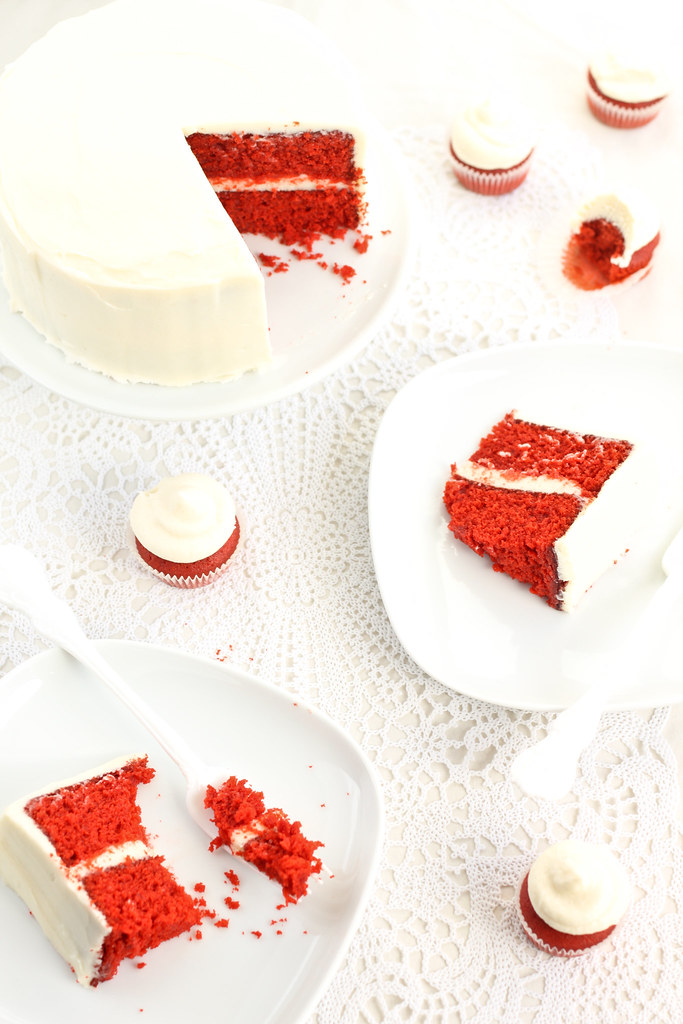
Then there was the price to consider. After researching prices at most well established bakeries, I found that even a small 6 inch cake can run up over $30. Considering the population of the church, I realized that this would not do. Even with the price above $20 I could already imagine their polite "No Thank You"s. I figured the price had to be low, a low amount of funds is better than no funds at all and I was hoping that the low price would encourage more orders. So, I sold 6 inch red velvet cakes for....$15 dollars. No lie. And for a moment it even pained me to do it, but it all turned out for the better in the end. The cake was very well received and on our first day of taking orders we sold 10 cakes, totaling up to $150 raised on our first go.
This of course means that this Friday, I will be in the church kitchen baking up ten red velvet cakes. And although we'll continue taking orders for more as the weeks go by (I have several requests to make a sugar-free version) I assure you that by the time I get back to school, I will be running out the door if my friends so much as request a Red-Velvet-Anything.
But for now, I give you this cake recipe. The only adaptation I made was altering the prescribed one teaspoon of cocoa powder to two tablespoons. I know, I know there is so much controversy over doing this. However, I had made a half recipe earlier in the week as a batch of mini-cupcakes for an order of 6-dozen (2 dozen lemon with cream cheese, 2 dozen vanilla with chocolate ganache, and 2 dozen red velvet) and the flavor never seemed to develop. To make a six inch cake, I only needed to use half the recipe, but I added a tablespoon of cocoa powder instead and after the cake cooled and I had sliced it and taken my bite of the scraps I immediately screamed for my sister to come down to the kitchen. Even right out of the oven, without maturing, the flavor was so full and complex. That extra hit of cocoa gave the taste so much body without actually being too obviously chocolate, because believe me I am NOT a chocolate fan. Just keep in mind that the recipe posted below makes a three-layer, 9 inch cake. You could make half and end up with a good sized 6 inch or use the other half for cupcakes. All up to you.
*Also, I'm considering making those 6 inch cakes into three-layers instead of two. Well maybe if I ever make it again for myself I'll try it out.
Southern Red Velvet Cake (adapted from Food Network)
2 1/2 cups all-purpose flour
1 1/2 cups sugar
1 teaspoon baking soda
1 teaspoon fine salt
2 tablespoons cocoa powder
1 1/2 cups vegetable oil
2 eggs, room temperature
1 cup buttermilk, at room temperature
red food coloring (as much as desired)
1 teaspoon white distilled vinegar
1 teaspoon vanilla extract
Preheat the oven to 350 degrees F. Lightly butter and flour 3 (9 by 1 1/2-inch round) cake pans.
In a large bowl, sift together the flour, sugar, baking soda, salt, and cocoa powder. In another large bowl, whisk together the oil, buttermilk, eggs, food coloring, vinegar, and vanilla.
Using a standing mixer, mix the dry ingredients into the wet ingredients until just combined and a smooth batter is formed.
Divide the cake batter evenly among the prepared cake pans. Place the pans in the oven evenly spaced apart. Bake, rotating the pans halfway through the cooking, until the cake pulls away from the side of the pans, and a toothpick inserted in the center of the cakes comes out clean, about 30 minutes.
Remove the cakes from the oven and run a knife around the edges to loosen them from the sides of the pans. One at a time, invert the cakes onto a plate and then re-invert them onto a cooling rack, rounded-sides up. Let cool completely.
Cream Cheese Frosting
1 pound cream cheese, softened 4 cups sifted confectioners' sugar 2 sticks unsalted butter (1 cup), softened 1 teaspoon vanilla extract
In a standing mixer fitted with the paddle attachment, or with a hand-held electric mixer in a large bowl, mix the cream cheese, sugar, and butter on low speed until incorporated. Increase the speed to high, and mix until light and fluffy, about 5 minutes. (Occasionally turn the mixer off, and scrape the down the sides of the bowl with a rubber spatula.)
Reduce the speed of the mixer to low. Add the vanilla, raise the speed to high and mix briefly until fluffy (scrape down the bowl occasionally). Store in the refrigerator until somewhat stiff, before using. May be stored in the refrigerator for 3 days.
Assembly
Frost the cake. Place 1 layer, rounded-side down, in the middle of a rotating cake stand. Using a palette knife or offset spatula spread some of the cream cheese frosting over the top of the cake. (Spread enough frosting to make a 1/4 to 1/2-inch layer.) Carefully set another layer on top, rounded-side down, and repeat. Top with the remaining layer and cover the entire cake with the remaining frosting.
Wednesday, June 16, 2010
For any of you who have yet to pick up on the pattern, I'll spell it out for you. If you so much as see the word "strawberry", know that the post has my boyfriend all over it. Because of the recent makeover and all my giddy self-satisfaction at doing it all on my own--from the logo to every last, frustrating bit of code--my boyfriend has taken a closer look at my blog, instead of the customary once over. I even received my first "reader complaint" when he noted that I had failed to mention him in the Strawberry Bavarian post. The title of the post clearly shows that I had meant to make mention of it, but my busy school schedule and sheer laziness when it comes to writing here prevented the post from ever developing into more than just a recipe card. The cake was made for my boyfriend's .......th birthday. Funny, I hesitated to announce the age, partly because I'm not sure how much more information my boyfriend minds me posting outside of a mere mention and because I suddenly became worried about dating ourselves by giving his age. Besides, as most of you know, the number itself means little and most people who see that kid in action and then hear his real age are surprised.
I will now simply refer to him as J, because I'm not sure how fond he would be of my previous nickname for him. Anyways, this last Monday was our 34 month anniversary or two months short of three years anniversary...however you choose to look at it. And yes, you can see that we're still silly enough to celebrate our relationship down to the month, but part of me hopes that if we're together ten years from now, we'll still be celebrating our 114 month anniversary, a.k.a our 9 1/2 years anniversary.
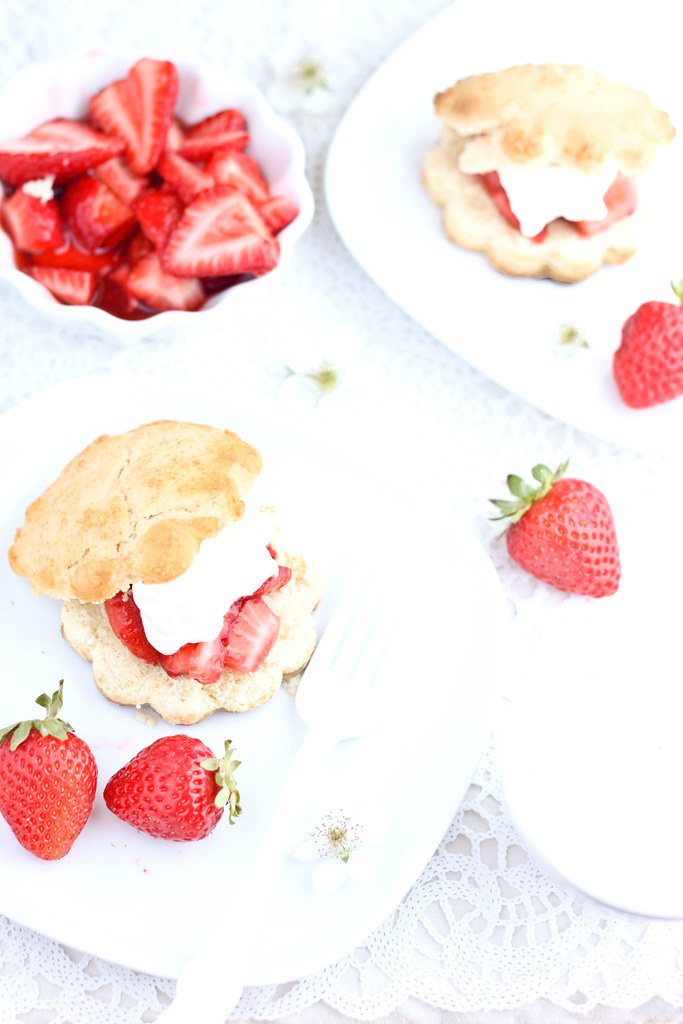
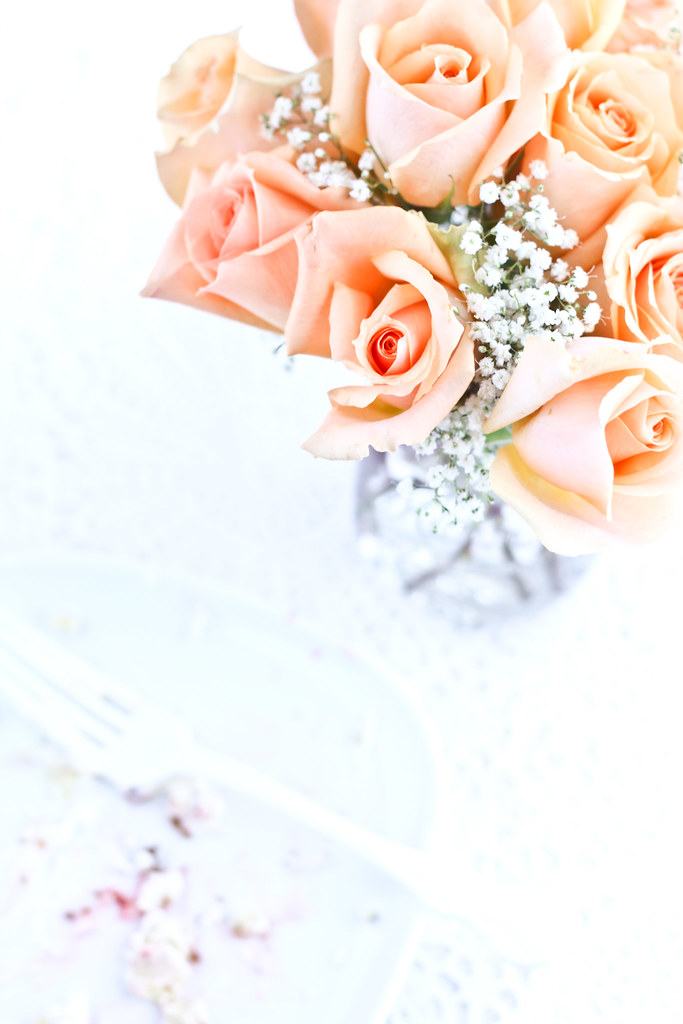
As soon as I hinted to J that I would be making him something, he immediately exclaimed "ice cream cake!". I almost went for it too, and began mentally planning out individual ice cream cakes made in ring molds, but inevitably came back to my original idea...strawberry shortcakes. Which surprisingly for a strawberry lover, he has never tried, but he's not the kind to try something new unless under duress. He also stared shocked for a moment when he saw how I had cut the dozen peach roses he had given to me short enough to fit into a mason jar. He had expected for me to leave them long-stemmed and elegant, like he was accustomed to seeing, but I explained that I liked the cozy feel of the simple display.
So the verdict? Success! Despite a few helpless (albeit, adorable) questions about how he should go about eating it, his plate was emptied and scraped in a few minutes and I was finally relieved of enough anticipation to enjoy my own.
As soon as I hinted to J that I would be making him something, he immediately exclaimed "ice cream cake!". I almost went for it too, and began mentally planning out individual ice cream cakes made in ring molds, but inevitably came back to my original idea...strawberry shortcakes. Which surprisingly for a strawberry lover, he has never tried, but he's not the kind to try something new unless under duress. He also stared shocked for a moment when he saw how I had cut the dozen peach roses he had given to me short enough to fit into a mason jar. He had expected for me to leave them long-stemmed and elegant, like he was accustomed to seeing, but I explained that I liked the cozy feel of the simple display.
So the verdict? Success! Despite a few helpless (albeit, adorable) questions about how he should go about eating it, his plate was emptied and scraped in a few minutes and I was finally relieved of enough anticipation to enjoy my own. As for myself, I love the recipe. Too often you encounter dry or flavorless shortcakes, but these were so moist and tender that I couldn't resist taking one to work with separate little containers of sliced strawberries and whipped cream and trying to assemble it without anyone noticing and sneak it back to my desk to enjoy.
This recipe came from a recent Tuesdays with Dorie, though I don't know if I can officially claim to have participated seeing as I am two weeks late. You can find the recipe over at The Tortefeasor.


.jpg)