
Thursday, February 4, 2010
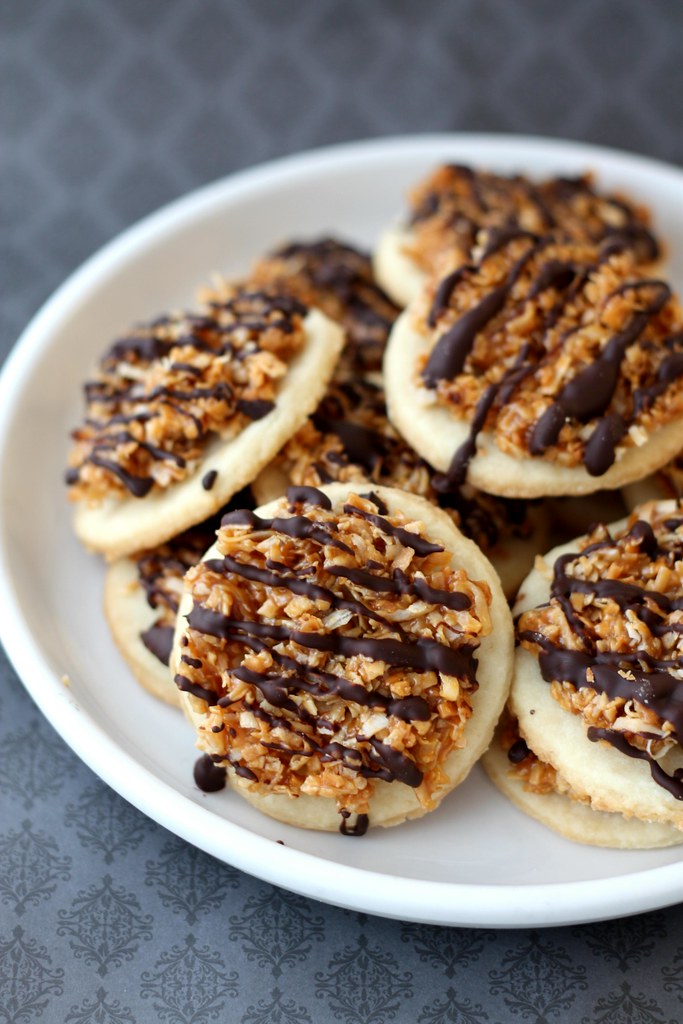 I had my very first Samoas cookie rather recently while visiting my sister-in-law and her husband last year. Apparently, they're his favorite and as we were all out shopping he was immediately drawn to the Girl Scouts who had set up camp outside and returned triumphantly with several boxes of these babies. So, appropriately, I thought I'd make them for real (real as in sans preservatives and novel-sized ingredient list) and bring them along for our next visit. I deviated from the recipe a bit by opting out of dipping the bottom of the cookies in chocolate...that's just too much chocolate for me...and now no worry about melty-chocolately fingers.
Samoas Cookies (adapted from Baking Bites)
1 cup butter, softened
1/2 cup sugar
2 cups all purpose flour
1/4 teaspoon baking powder
1/2 teaspoon salt
1/2 teaspoon vanilla extract
up to 2 tablespoons milk
Preheat oven to 350F.
Cream together butter and sugar in a large bowl. Mix in flour, baking powder and salt at a low speed, next, the vanilla and milk, adding in the milk only as needed to make the dough come together without being sticky (you may not need any at all). The dough should come together into a soft, pliable ball. Add in a bit of extra flour if your dough seems sticky.
It's easiest to roll the dough out in 2 or 3 batches (between pieces of wax (or parchment) paper to about 1/4-inch thickness (or a little thinner) using a 1 1/2-inch cookie cutter to make rounds. Place on a parchment lined (or on silicone mat) baking sheet and make a hole in the center. I used the small end of a large round piping tip. Nicole comments that you can use a knife, or the end of a wide straw, to cut a smaller center hole. Repeat until the dough is used up (it's okay to re-roll, this dough is shortbread-like and very forgiving.)
Bake cookies for 10-12 minutes, until bottoms are very lightly golden brown around the edges.
Cool for a few minutes on the baking sheet, to allow them to firm up slightly, then transfer to a wire rack to cool completely.
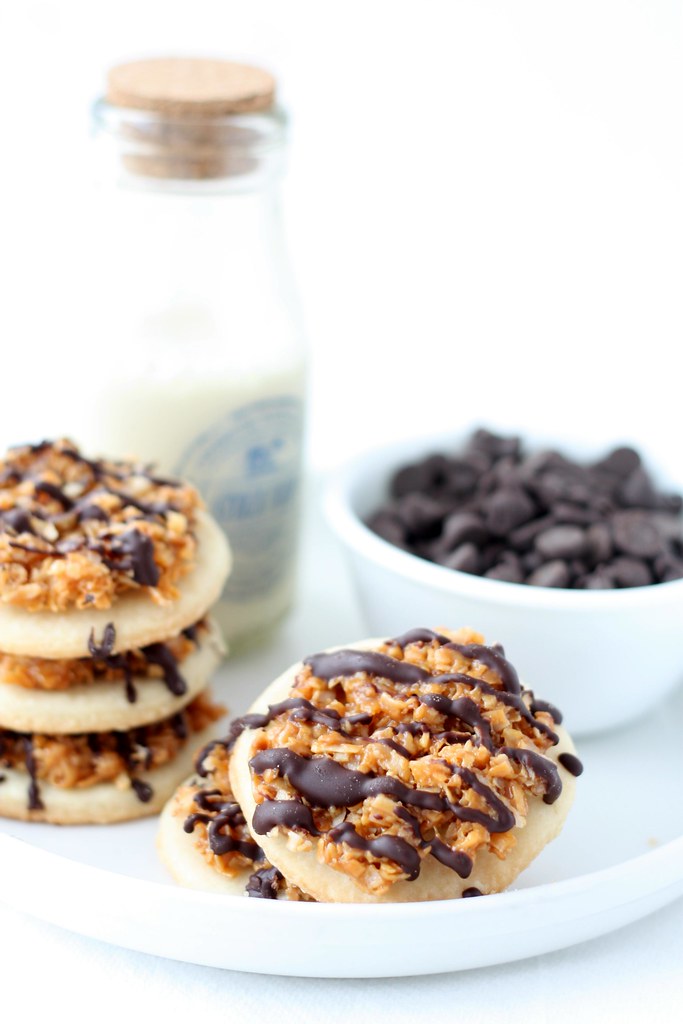
3 cups shredded coconut (sweetened or unsweetened)
12-ounces good-quality chewy caramels
1/4 teaspoon salt
3 tablespoons milk
8 ounces dark or semisweet chocolate (or milk chocolate, if you prefer)
Preheat oven to 300 degrees (F)
Spread coconut evenly on a rimmed baking sheet and toast 20 minutes, stirring every 5 minutes, until coconut is golden. Watch carefully, especially near the end of toasting time; the coconut toasts very quickly once it begins to become golden.
Cool on baking sheet, stirring occasionally. Set aside.
Unwrap the caramels and place in a large microwave-safe bowl with milk and salt. Cook on high for 3-4 minutes, stopping to stir a few times to help the caramel melt. When smooth, fold in toasted coconut with a spatula.
Using the spatula or a small offset spatula, spread topping on cooled cookies, using about 2-3 teaspoons per cookie. Reheat caramel for a few seconds in the microwave if it begins to firm up, to make it soft and spreadable once again.
While topping sets up, melt chocolate in a small bowl. Heat on high in the microwave in 45 second intervals, stirring thoroughly to prevent scorching. (I melted mine stovetop using double boiler method.) Dip the base of each cookie into the chocolate and place on a clean piece of parchment paper (I used silicone baking mats instead). Transfer all remaining chocolate into a piping bag or a ziplock bag with the corner snipped off and drizzle finished cookies with chocolate. (Melt a bit of additional chocolate, if there is not quite enough for each cookie.)
Let chocolate set completely before storing in an airtight container.Wednesday, December 10, 2008

Farewell to the dormitories and the cafeteria food! Today was my last day in my dorm, so as a goodbye present I made my roommate and her boyfriend caramel apples, per request. Living on campus was a fun experience, but one that I realized just wasn't important enough for me to spend so much money on. $13,000 a year to live 30 minutes away from my own house is just about as expensive as buying a new car -- so that's what we did, I now have a new car. I've been applying for jobs all around Marin County close to my university to help my mother pay it off.
I'm definitely going to miss my roommate, but I'm sure I'll be back at her room everyday between classes anyhow. To make up for leaving I've already spoiled her with homemade cheesecake, fudge, caramel apples and promised to make cupcakes for her boyfriend's birthday once school gets back in on January 19th (my birthday, actually, his is on the 3rd). 
Wednesday, November 26, 2008
 Canneles (adapted from Tartelette)
Makes 18 to 24 depending on your molds
750 milk (2 1/2 cups)
50 gr butter (2 TB)
3 eggs plus 3 egg yolks
200 gr granulated sugar (1 cup)
1 Tb vanilla extract
1/4 cup rum
155 gr flour (1 1/4 cups)
In a saucepan, bring the milk to a simmer, add the butter cut into dices. Mix well and let cool to lukewarm. In a bowl, mix the eggs, egg yolks, sugar and vanilla and whisk until foamy.
Slowly add the rum and flour. Add the milk slowly and whisk until smooth. Pass it through a sieve if necessary. Let the batter rest in the fridge for a few hours or overnight.
When the batter has rested, preheat the oven to 375F and divide it evenly among the canneles molds, generously coated with cooking spray or well oiled if you use copper.
Bake for 35-45 minutes. They will be scortching hot right out of the oven, so let them cool 20 minutes or so before enjoying them.
.jpg)